

How To Install Windshield Banner
- Remove heavy road grime or tar using our Rapid Prep cleaning solution.
- When a silicone substance or residue is suspected, wash and rinse the contaminated area with liquid dish detergent and warm water. Dry the surface with a clean, lint free towel or cloth.
- After the detergent wash simply finish the process by wiping down the entire area with our Rapid Tac or Rapid Tac II application fluid. Again use a clean, lint-free towel or cloth.
A note about Windshield Cleanliness
The prior use of synthetic protectants and silicones (i.e. Armorall, Son of a Gun, Rainex, etc.) on the substrate can result in adhesive difficulties. Therefore, special substrate cleaning with a silicone removal agent (i.e. 3M #08984 General Purpose Adhesive Cleaner, Denatured Alcohol, etc.) may be required, perhaps repeatedly. A final cleaning with DENATURED ALCOHOL is recommended with thorough drying of surface. Clean surface until all slick feel on the substrate is gone. Always test any cleaner on an inconspicuous area first for any reactions to surface finishes.
- The base material is vinyl. Because vinyl is a pressure-sensitive product, direct pressure to the product is very important. Please use your thumb or a soft, non-marring tool to apply pressure.
Illustrated Installation Procedures
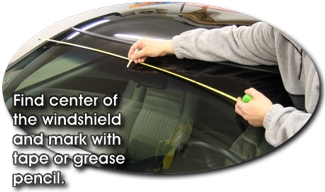
After thoroughly cleaning the windshield surface, find and mark it's center with a small piece of tape or white grease pencil. Take care not to use the Rear View Mirror mount for reference as not all mirrors are placed at exact windshield center.
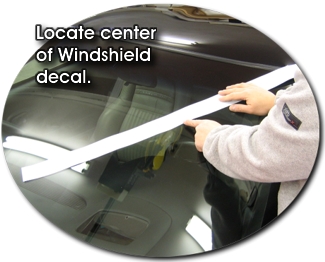
Locate and mark center of the Windshield Decal. Center can easily be found by folding the decal lengthwise in two . The resulting crease is center.
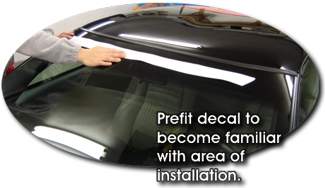
Once centers are found, place decal onto windshield so as to become familiar with desired placement.
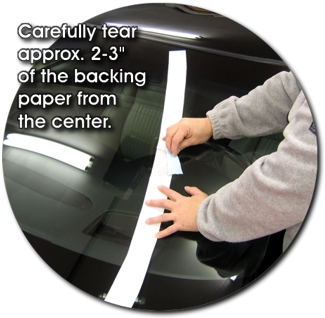
Recommended method of installation is the Center Hinge. This is achieved by carefully removing a 2-3" portion of the backing paper from the center as shown.
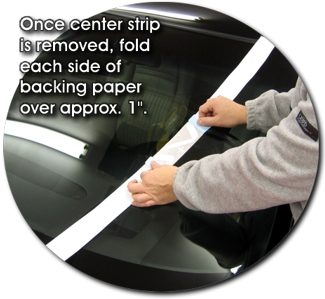
Once a portion of the center is removed, simply fold back each side of the backing paper approximately 1" (25.4mm) onto itself.

Then, turn the decal over and carefully set it in the desired location, making sure it's centered. When placed correctly, stick the center exposed area down with your thumb.
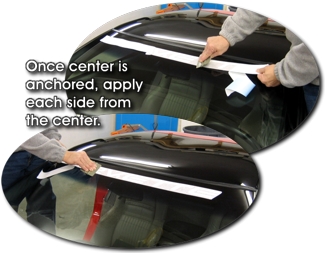
Once "hinged", apply each side of the decal from the center with an application squeegee or soft non-marring tool.
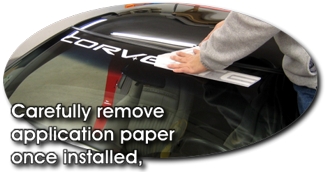
To remove the application tape, peel SLOWLY at a sharp (180�) angle. If the vinyl appears to be lifting, gently push the application tape in the opposite direction from which you were pulling and re-squeegee that area. If after removing the application tape, air bubbles are apparent, puncture the vinyl with a pin or needle (DO NOT USE a knife or razor blade) and squeegee out the air towards the puncture.
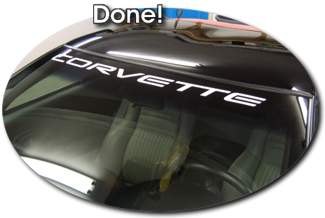
Step back and ADMIRE!
How To Install Windshield Banner
Source: https://autotrimdesign.com/Shopping%20Pages/Installation%20Information/Windshield%20Decals/Windshield%20Decal%20Installation%20Instructions.htm
Posted by: caseabilootich44.blogspot.com
0 Response to "How To Install Windshield Banner"
Post a Comment